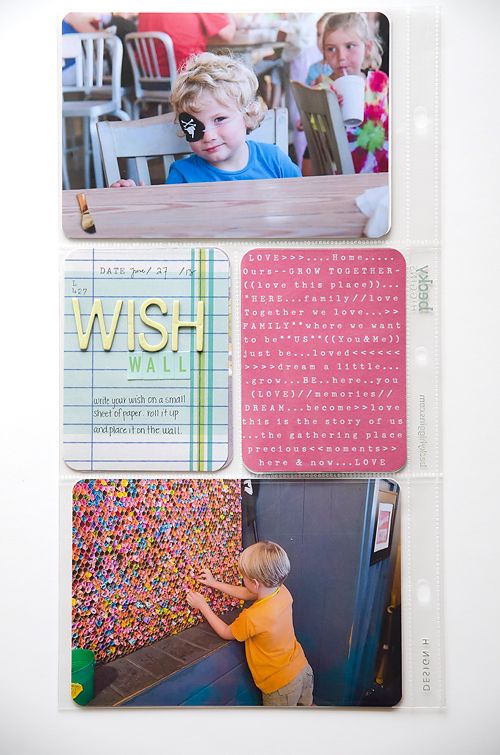
Tuesday, August 27, 2013

Disney World Album : Project Life Style

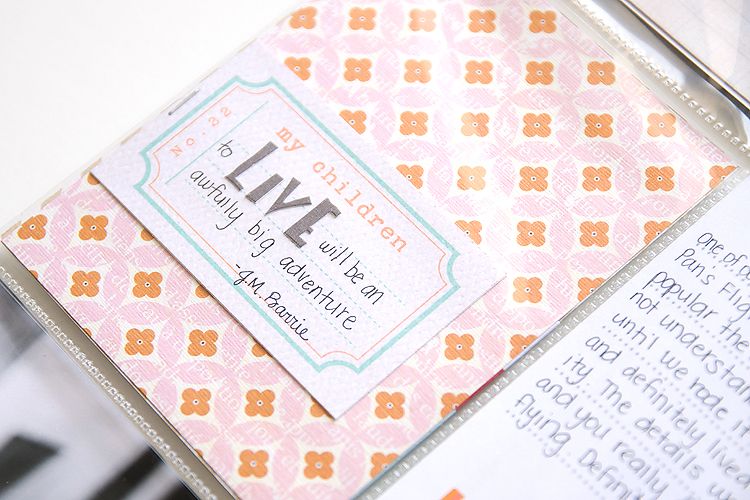
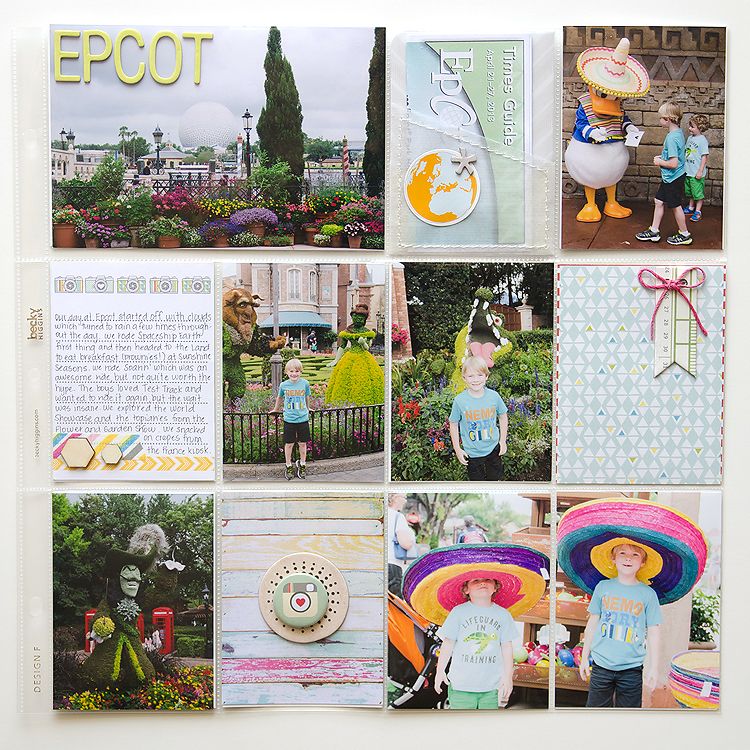
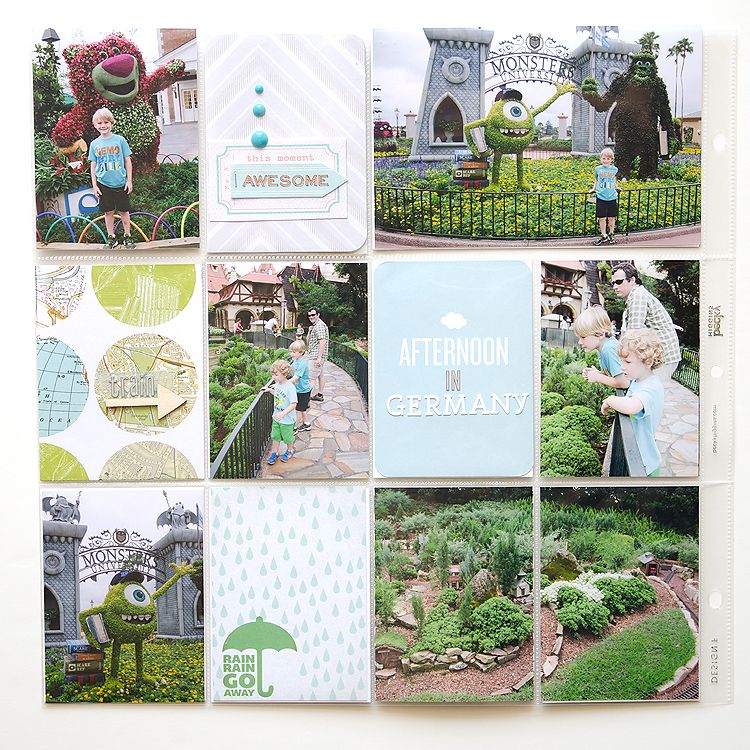
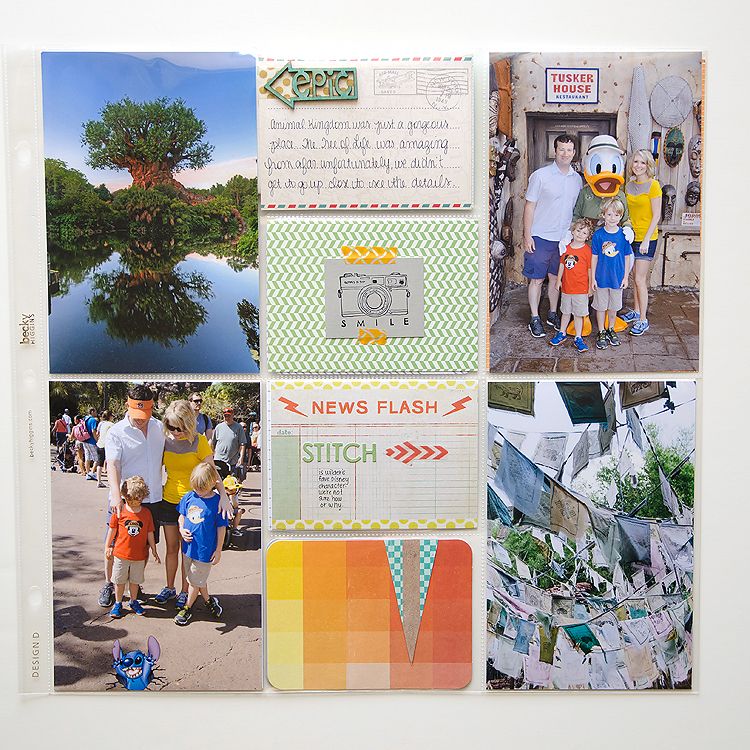
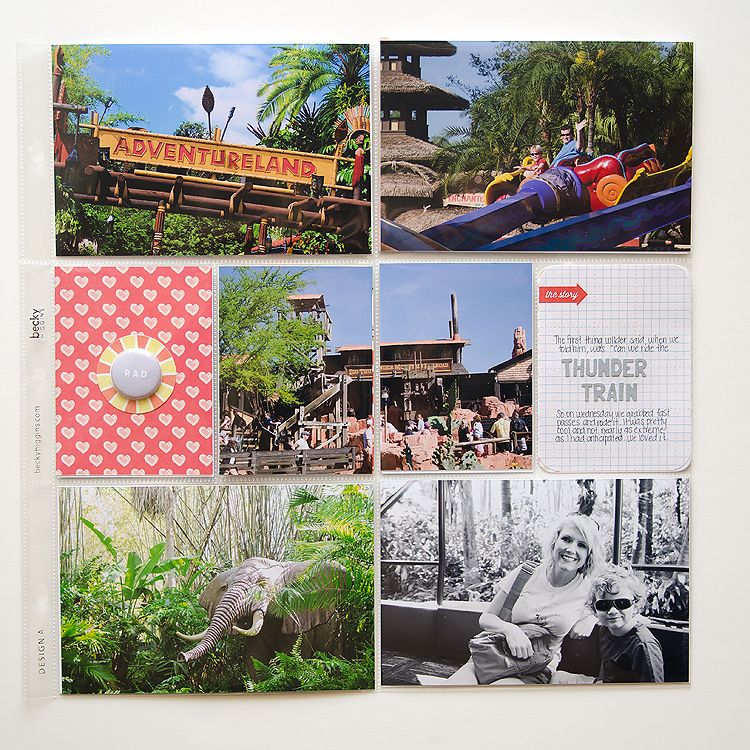
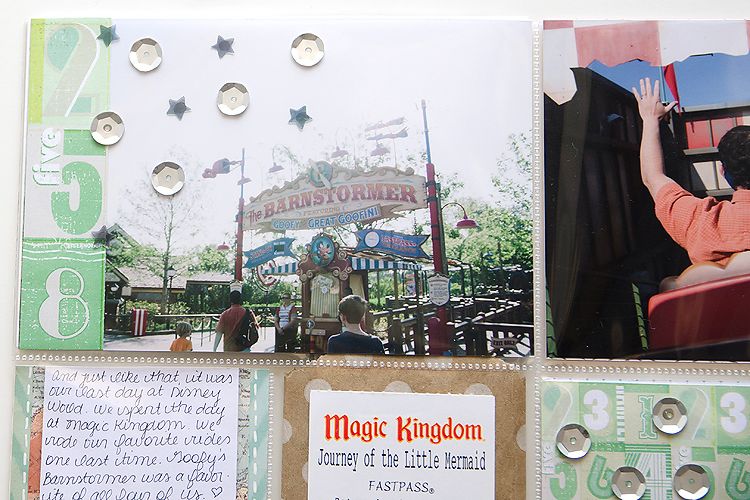
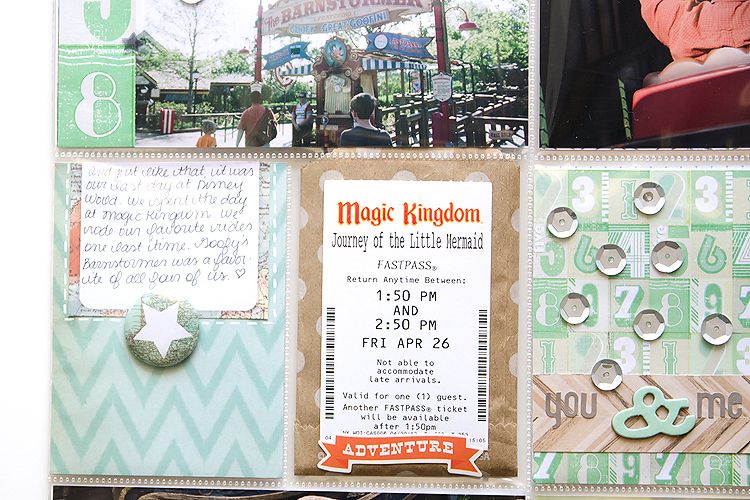
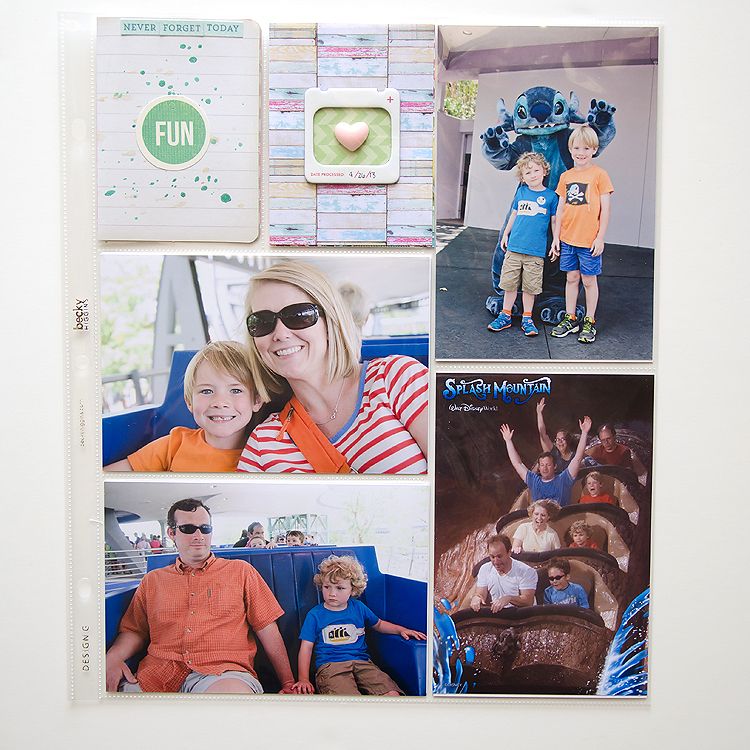
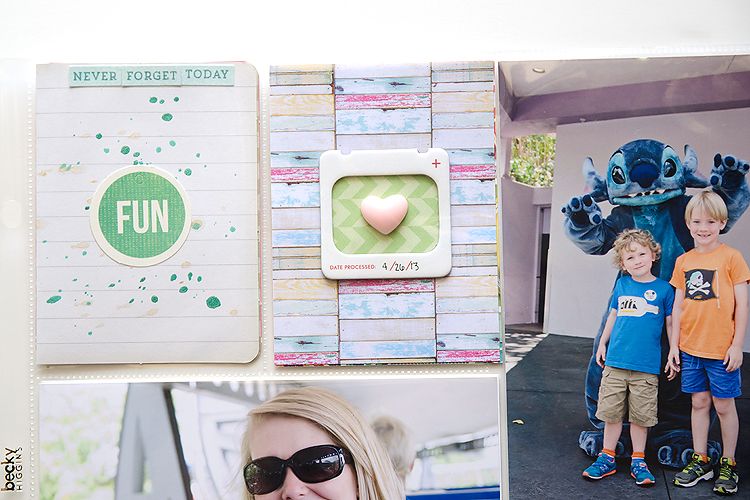
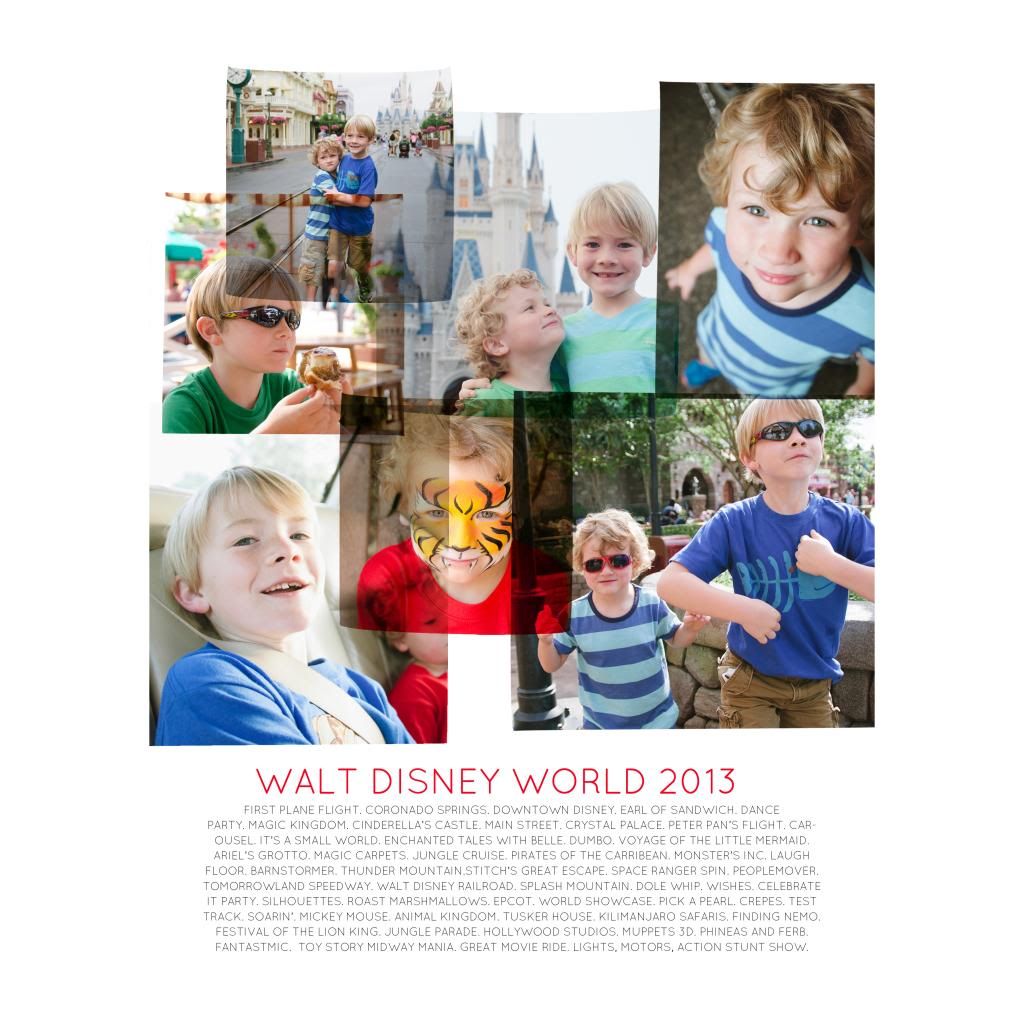
I finally finished my Disney Album from our first Disney trip that we took this past April.  Let me tell you, this was no small undertaking. It took me forever! But it was a labor of love, and I am so glad that I have this trip documented. I had originally planned to use a Studio Calico handbook to document the trip, but soon realize that I just had too many pictures and ephemera to include, so I picked up this Amy Tangerine album to use instead.

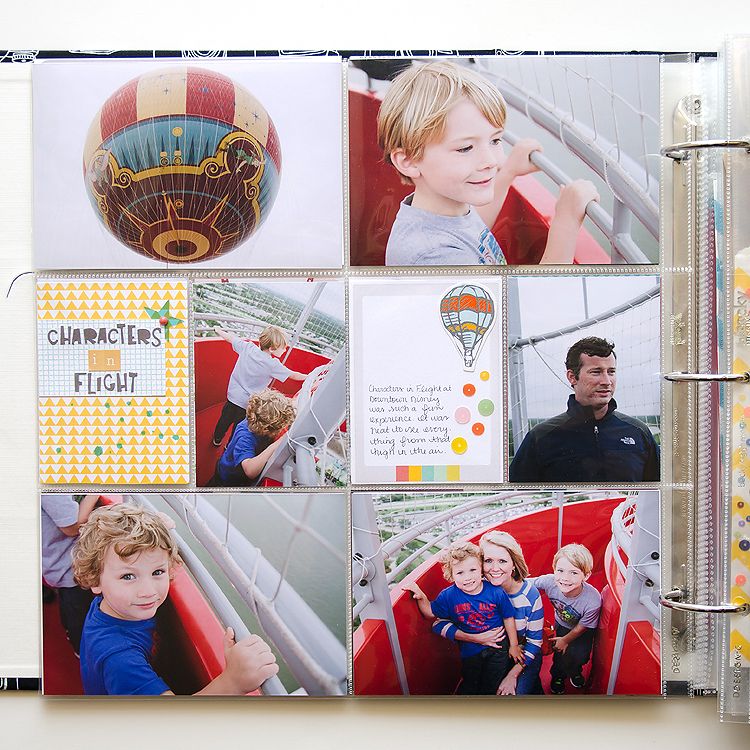
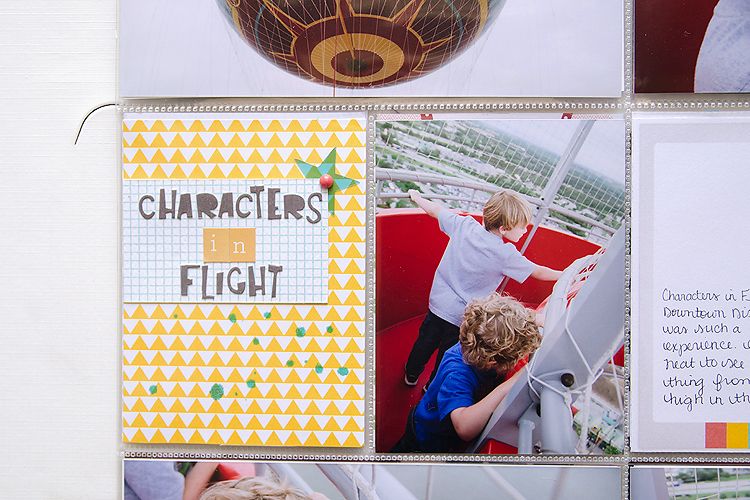
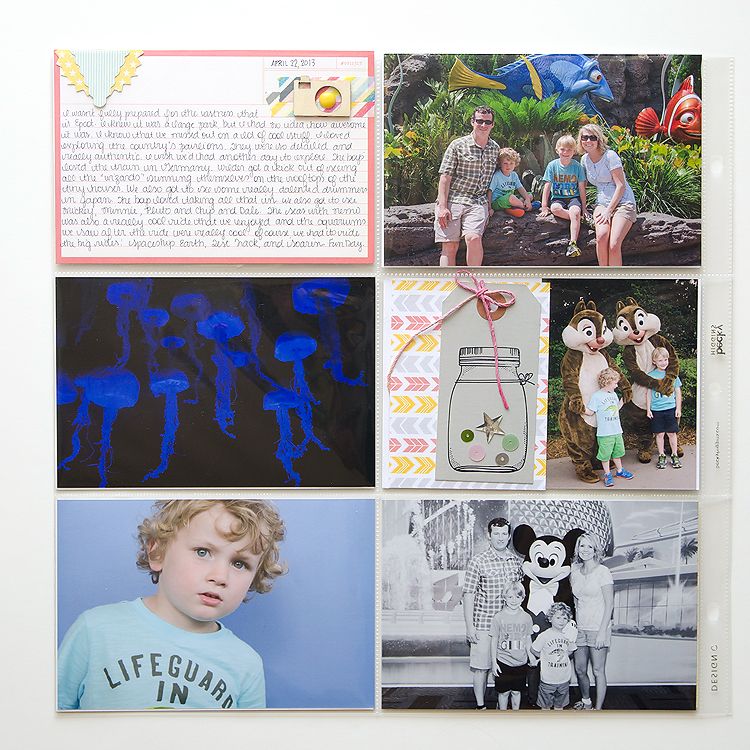
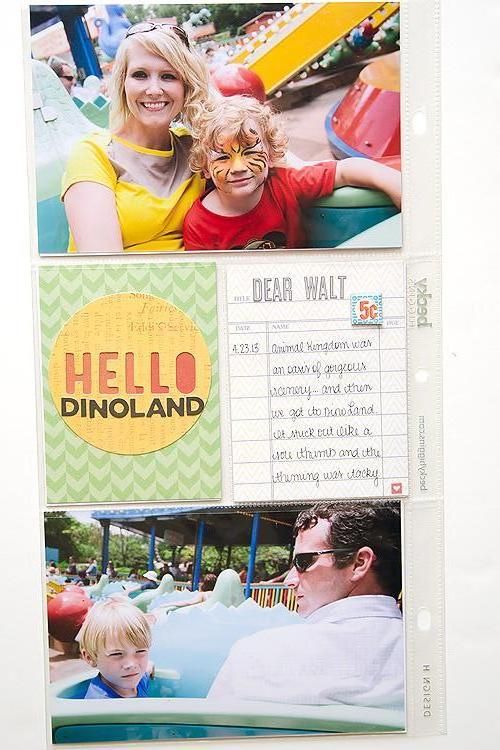
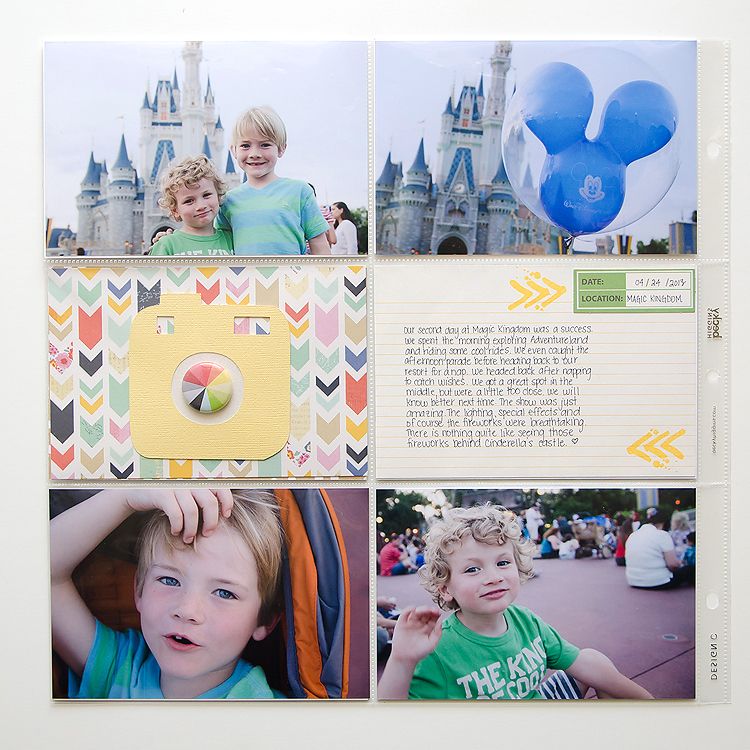
Each spread in this album is picture-heavy, and that's how I like it. I did include quite a bit of journaling, and I may go back and add more later as I remember things.

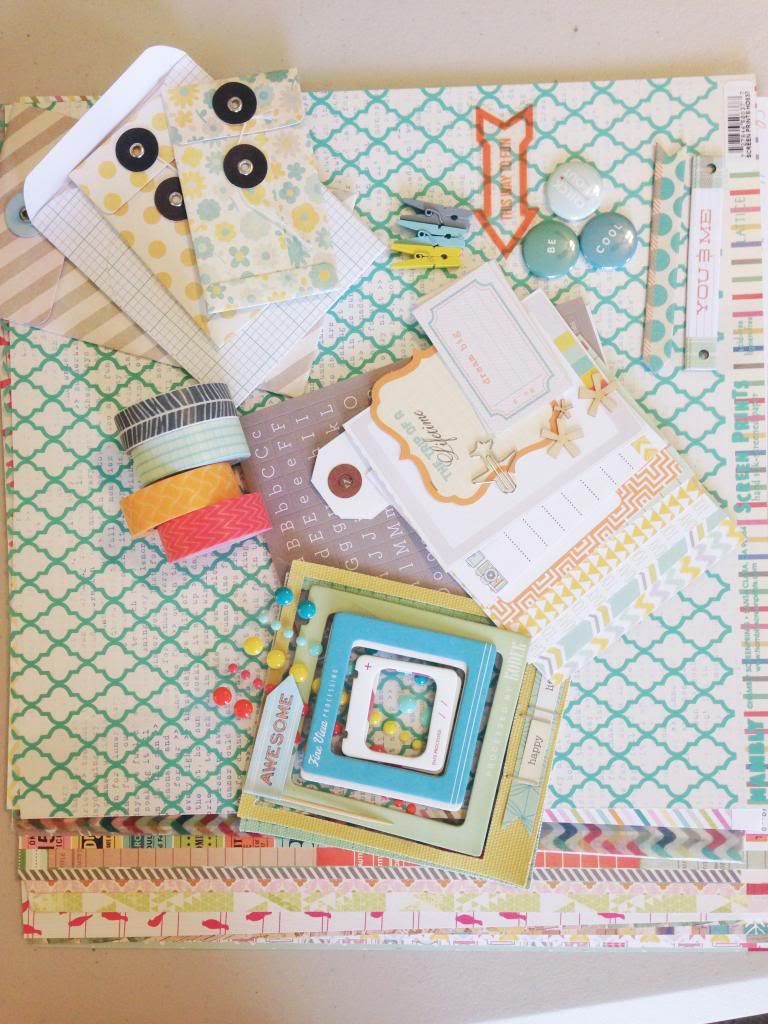
I started the album by pulling together a "kit" of items to use. I thought that this might help streamline the process as well as keep the pages of the album cohesive in colors and patterns.

Here's a shot of part of the items in my "kit."


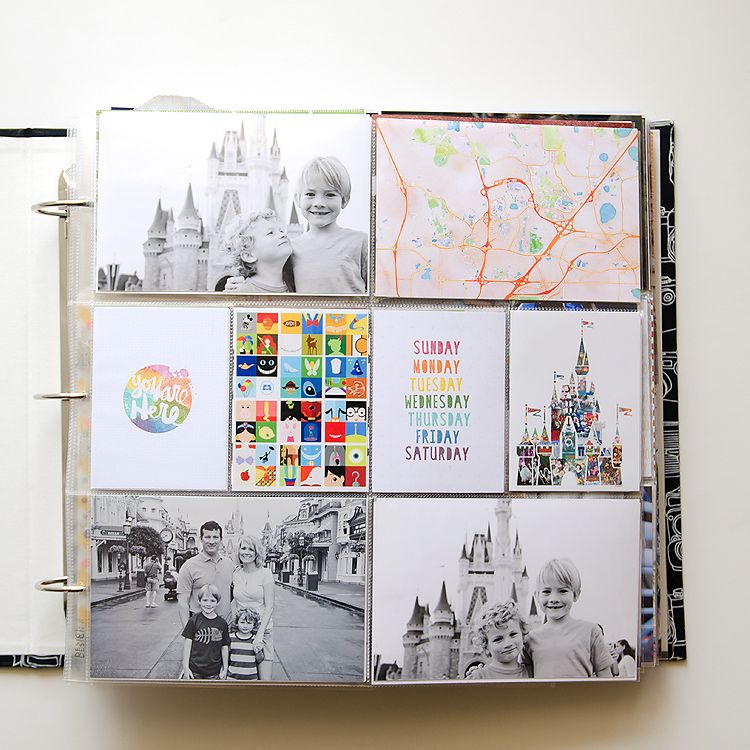
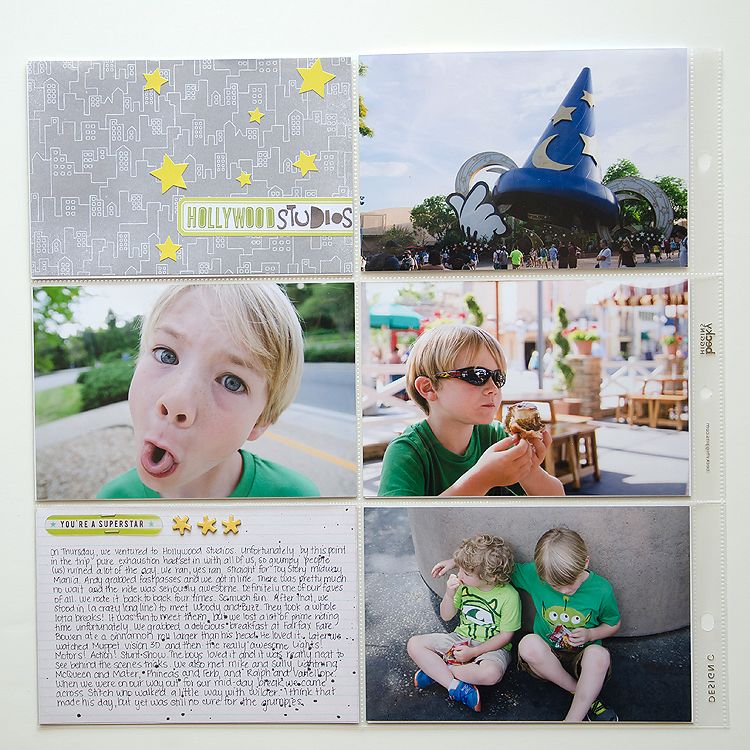
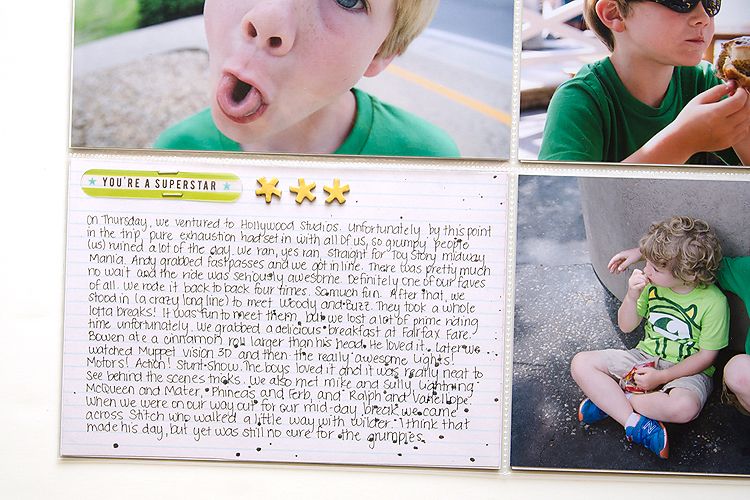
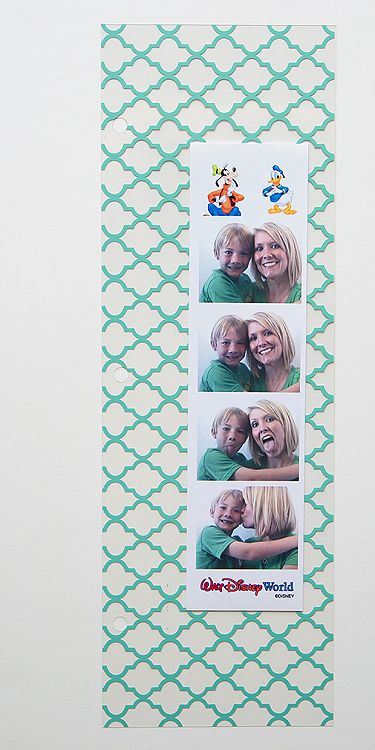
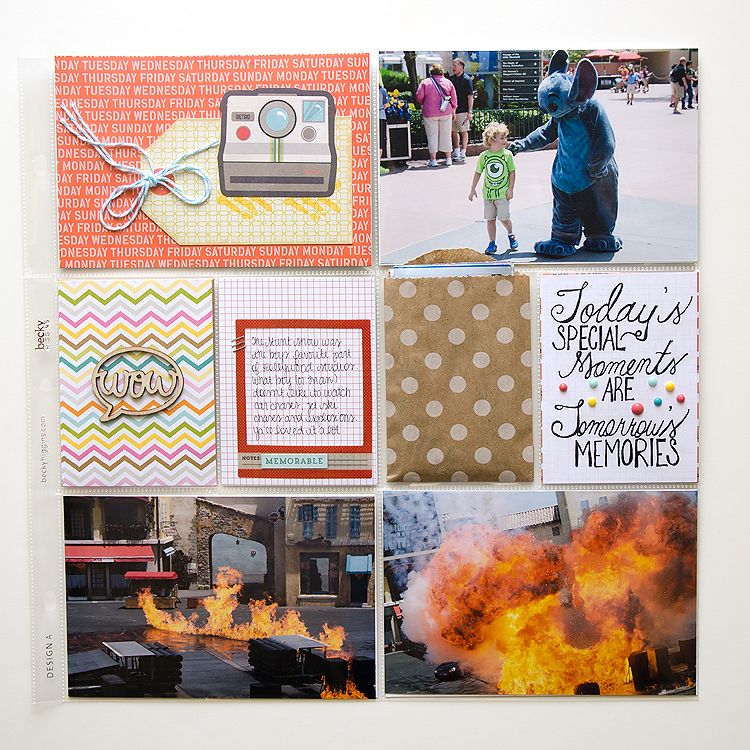
And here's my album:

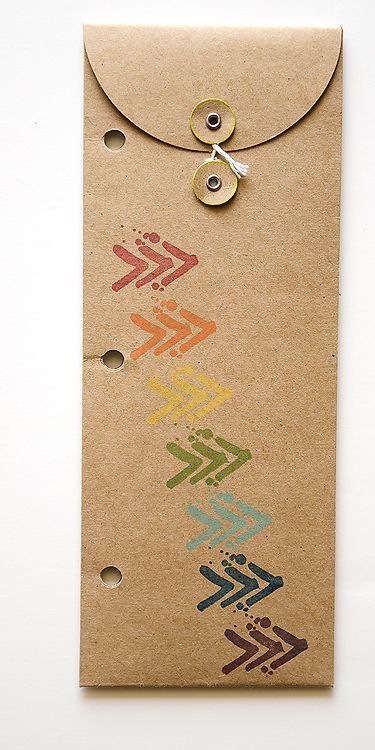
I love this cover page. The stamps are from past Studio Calico kits and I inked them with my Chalk Edgers in Coltsfoot Stemens, Garden Grass, Raspberry Pie, Blue Jay, Rusty Keys, and Teal Damask.
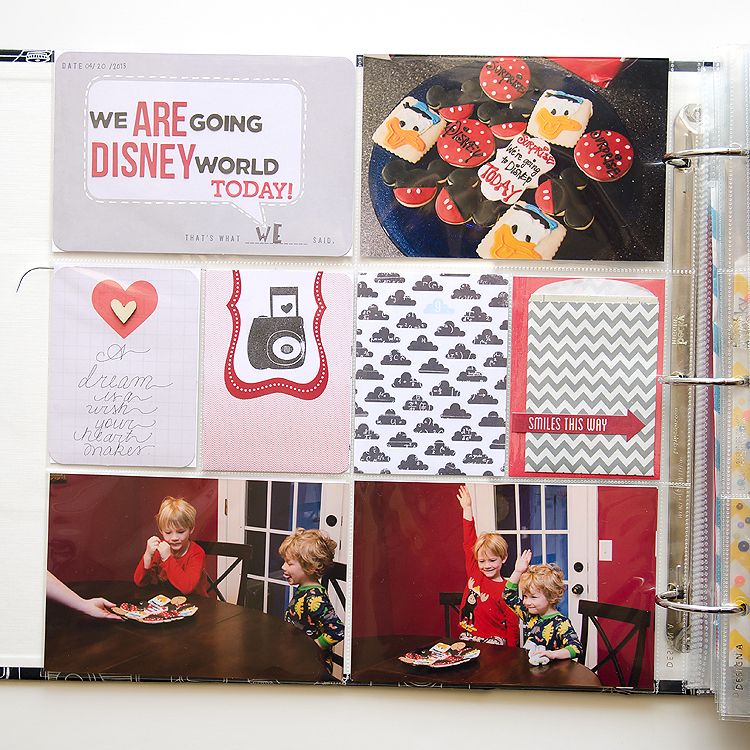
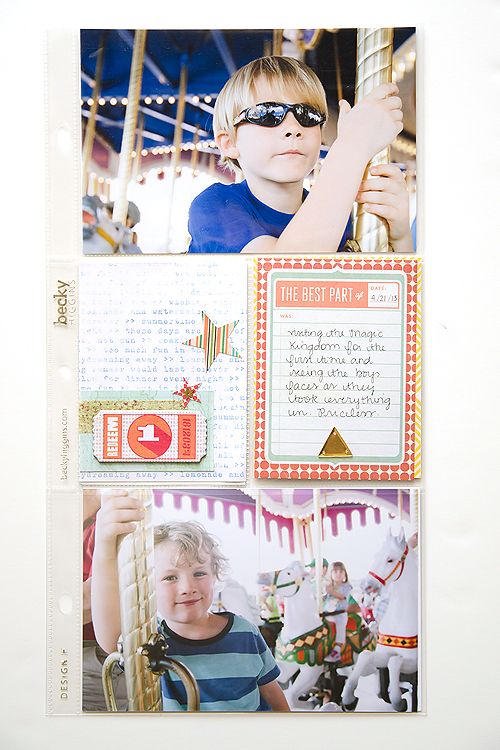
We surprised the boys with this trip. They had no idea we'd be going to Disney this year, much less TODAY! Seeing the look on their faces was priceless.
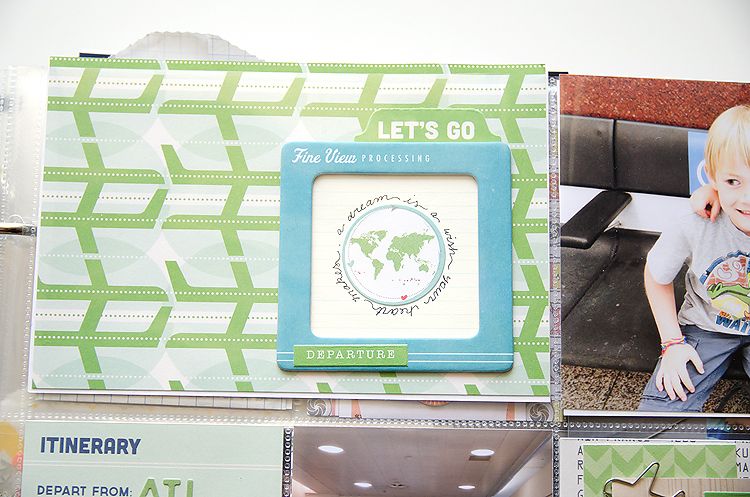
And then we surprised them with their first plane flight! They did great!  Most of the items on this page are from October Afternoon's Travel Girl line.
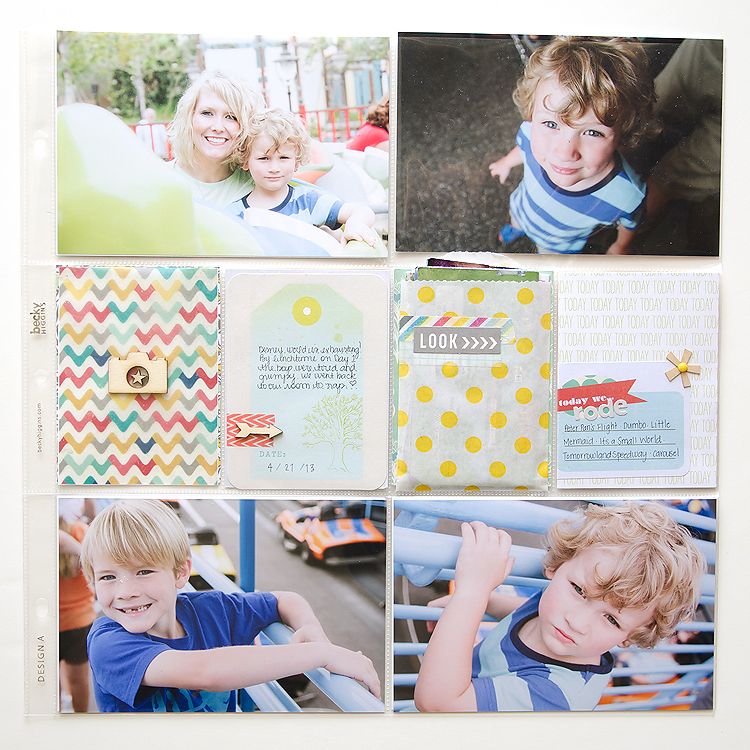
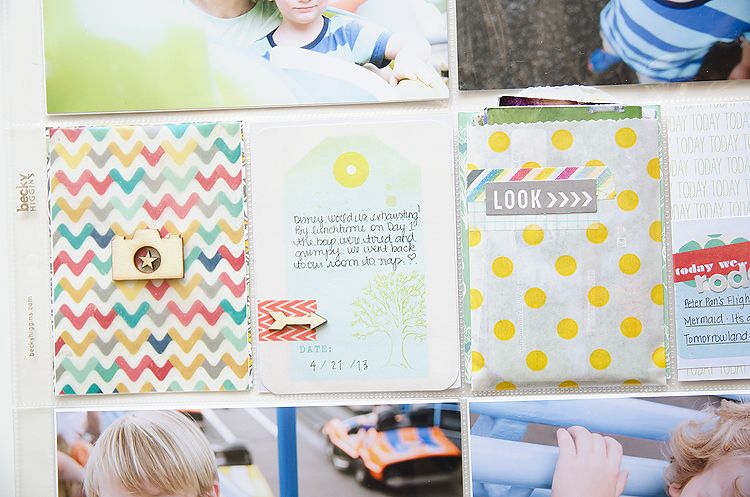
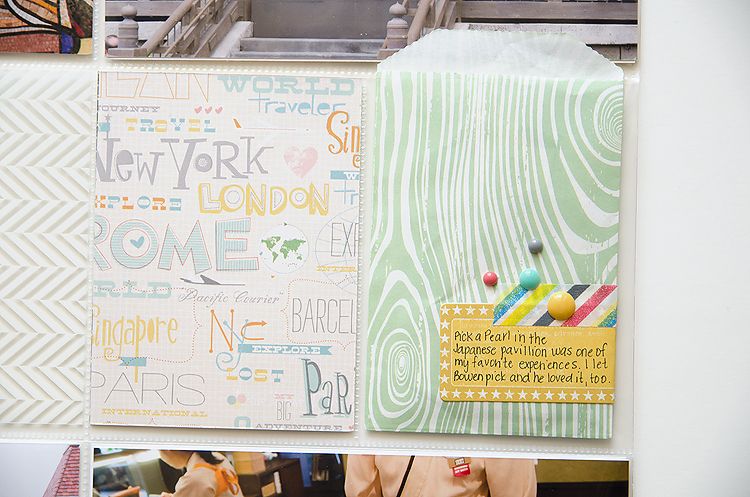
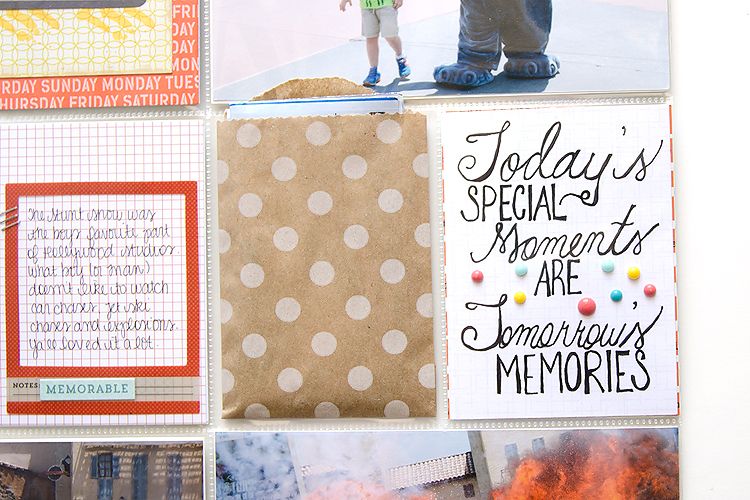
The little baggie contains some journaling from our first day at Disney World.
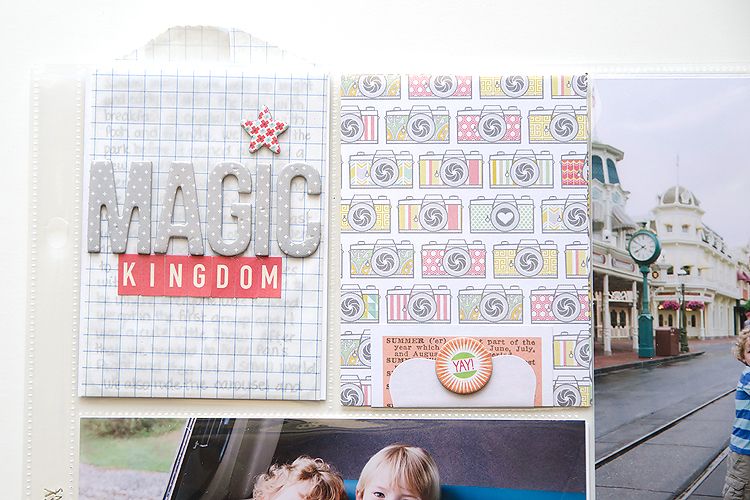
The yellow polka dot baggie contains our creased and ragged Magic Kingdom Map that we carried in our pocket the whole day as well as a Times Guide.
This bag contains some confetti we collected after a parade.
This envelope contains several of our receipts from the trip as well as some extra fast passes that didn't make it into other pockets.


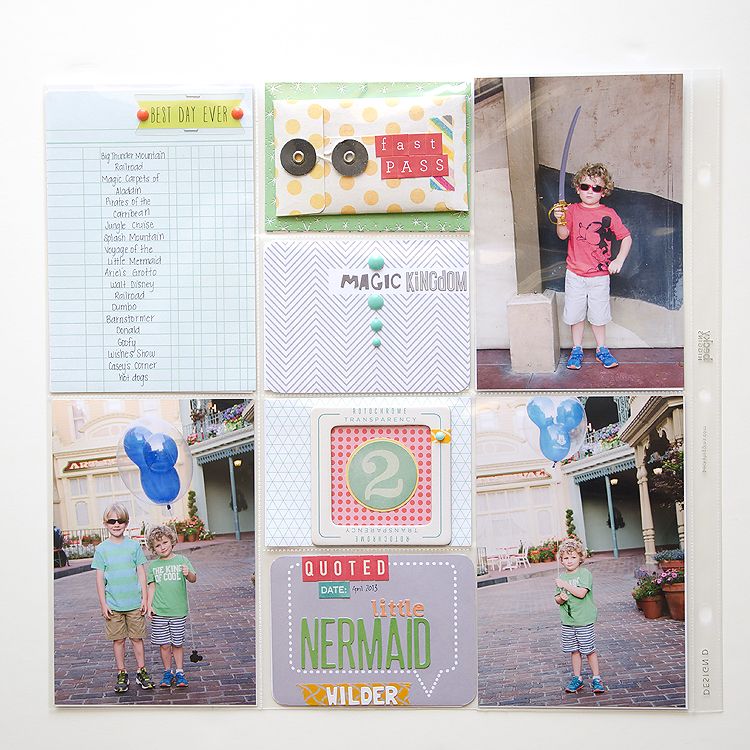
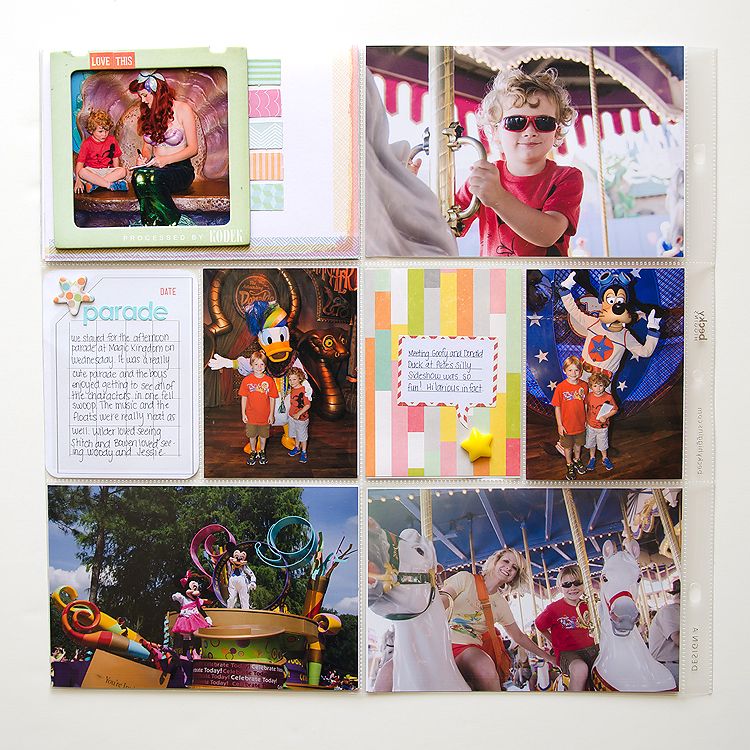
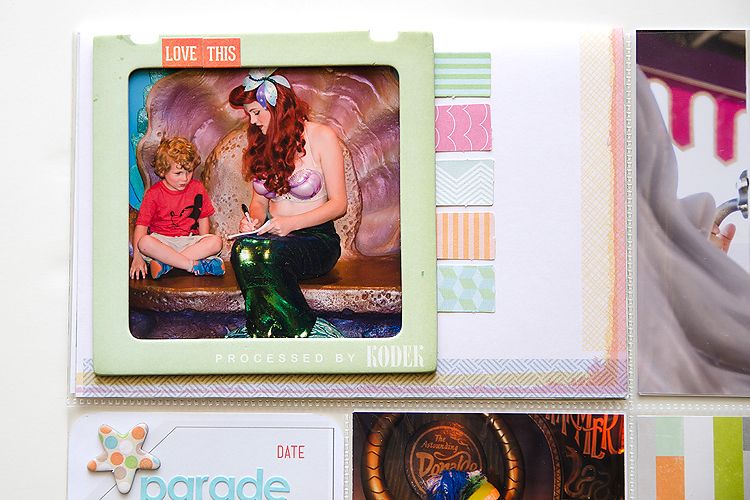
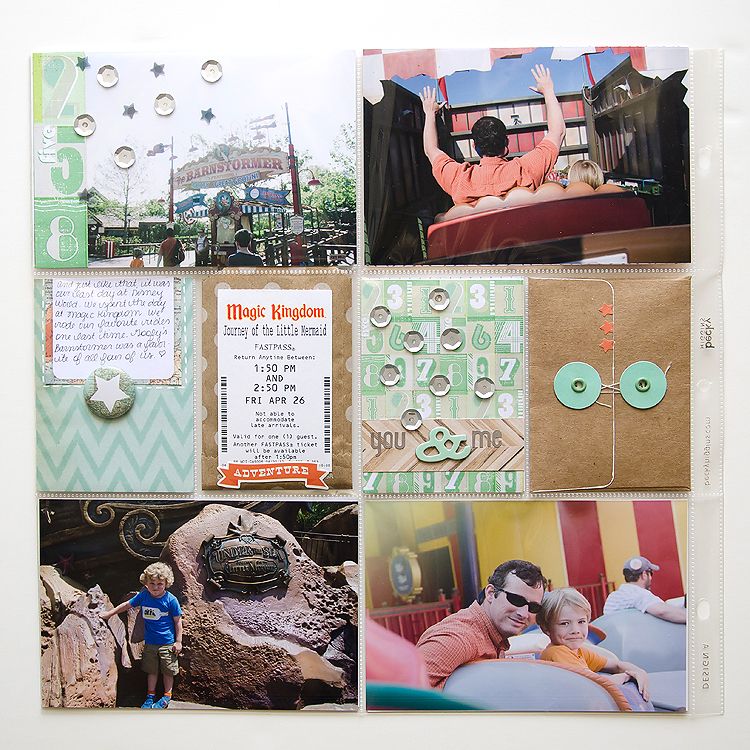
This is a flip up that includes another picture of Wilder aka Robert on the inside.  Twice during this trip, people thought he said his name was Robert.  His autograph from Ariel even reads:  "To Robert, Love, Ariel."  I love his face here. He didn't know that he was going to be meeting Ariel face to face, so it was a bit of a surprise.  The Voyage of the Little Mermaid ride was his favorite in all of Magic Kingdom.  So we had to meet Ariel in her Grotto.
Had to have a Mickey Balloon.  Isn't that a given?
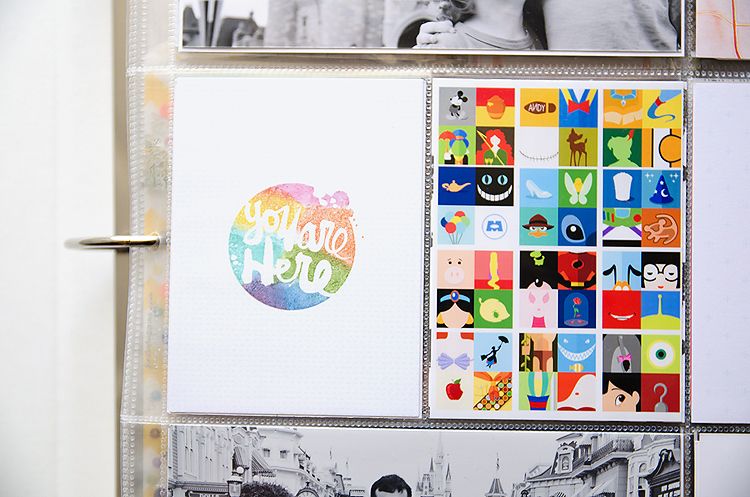
More rainbow stamping using the same colors I used on the first page. Stamp from Studio Calico.
Keeping it real, folks, keeping it real.
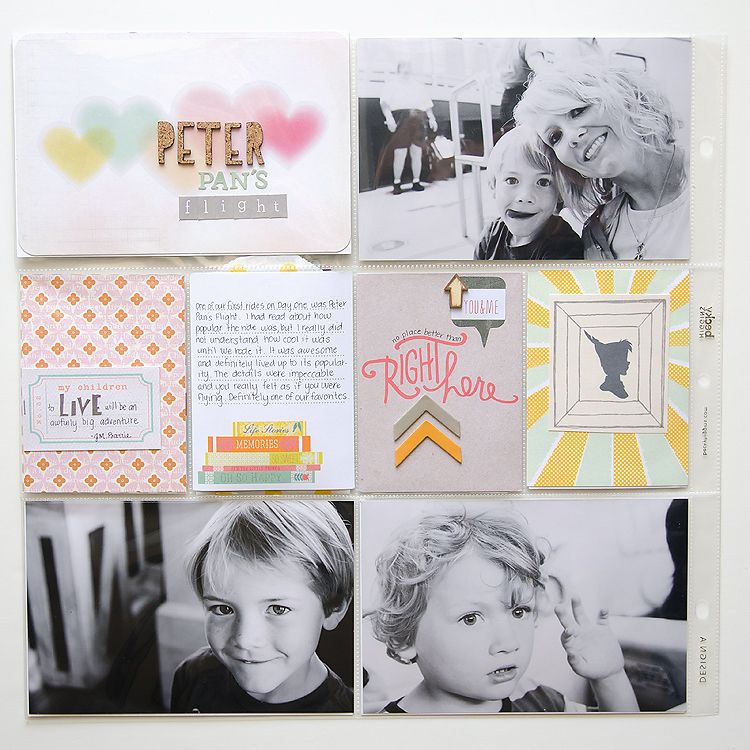
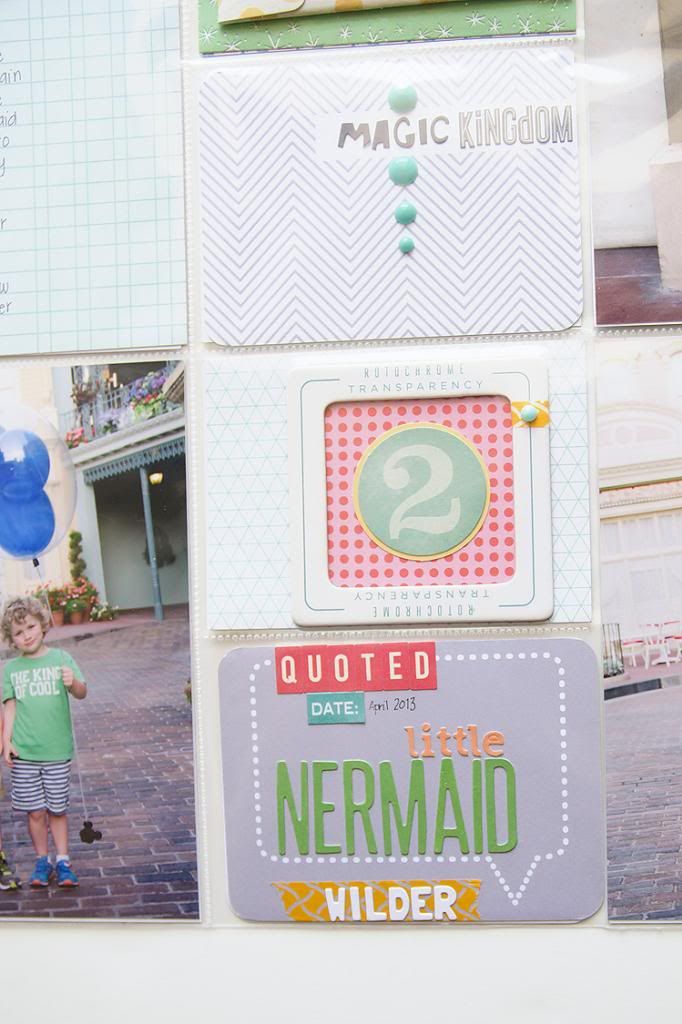
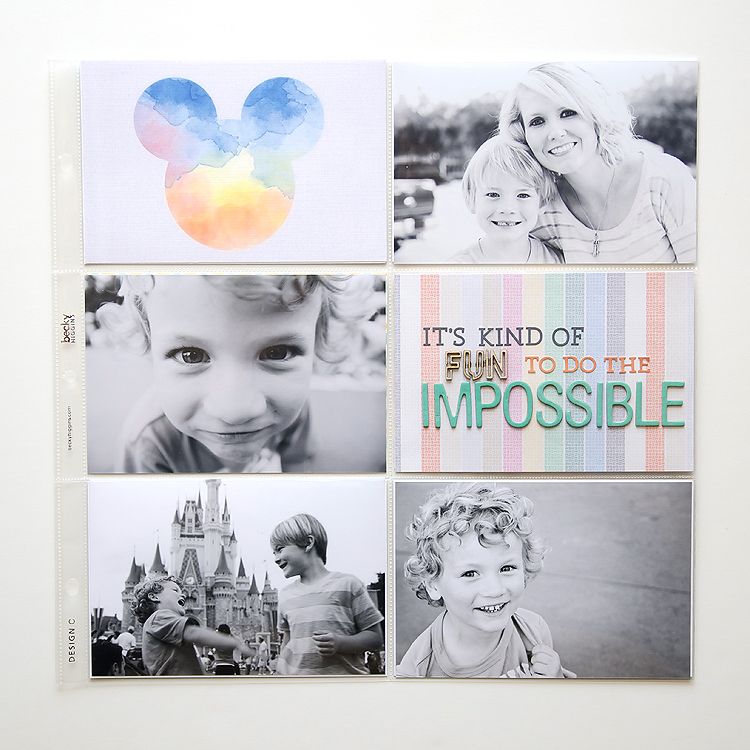
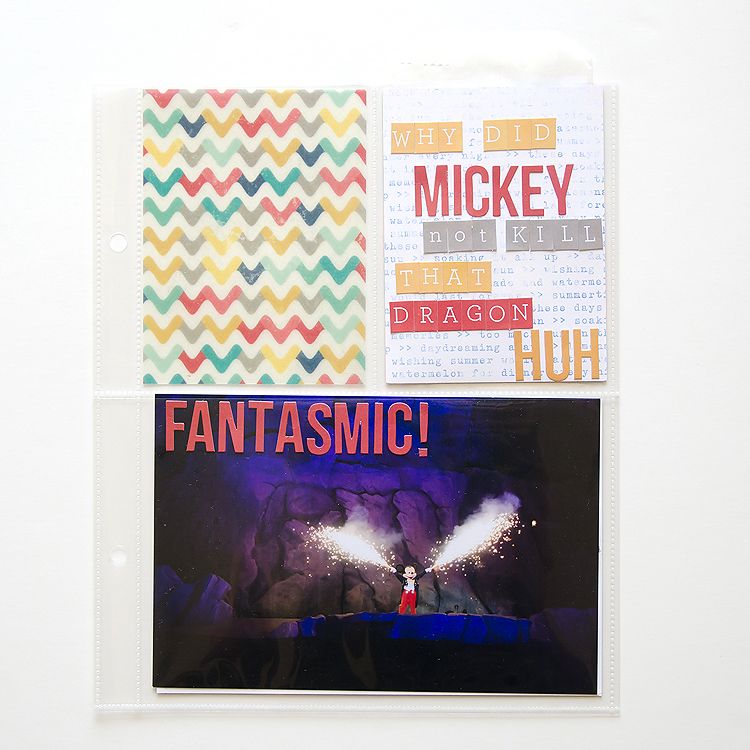
I had to include this epic quote from Wilder.  We still repeat it throughout our days at home.  He is so funny.  As a side note, Fantasmic was an utter disappointment to all of us and Bowen couldn't figure out why it wasn't a "Happy Show."
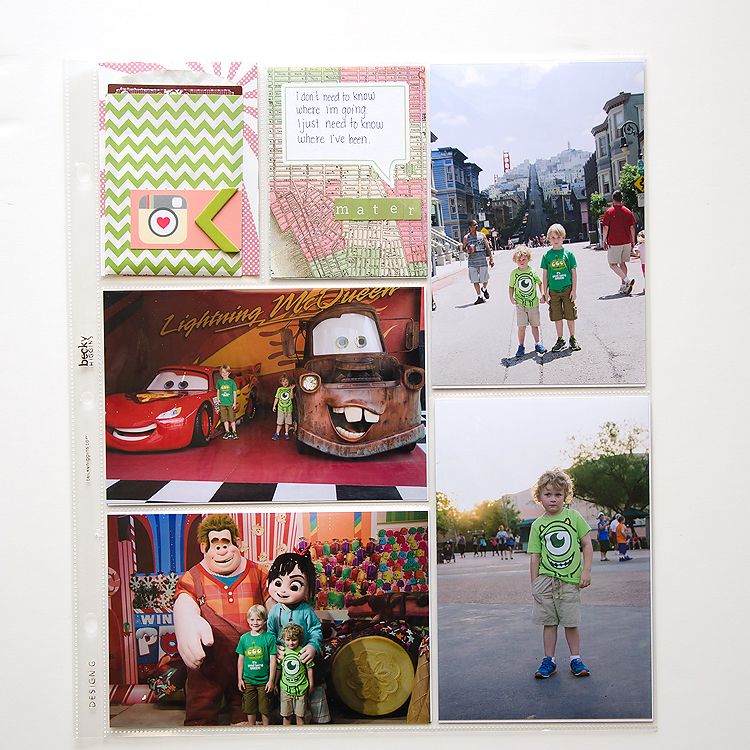
Used the fabulous Studio Calico Thataway line for this spread.
This bag contains maps of each park along with the Times guides for the week we were there.

Pin It!

Monday, August 12, 2013

Studio Calico September Class : Letterpress with Tina Azmus


Have you heard?  Studio Calico's September class is Letterpress With Tina Azmus (of Life Love Paper).  If you're like me and love the look of letterpress, but hesitate to pay high prices for pre-made cards, this class is for you. I cannot wait to learn this new technique from Tina. She's awesome at all she does, and I have no doubt that the class will be amazing.

You can sign up for the class here.

Here are some of the techniques that we will be learning:

Basic 1 color printing, 2/3 tone printing, blind impressions, creating letterpress Project Life® cards and inserts, making your own letterpress accents, mixing stamps and letterpress, letterpress + watercolor, building a pattern, putting together a large image from small elements, diecutting letterpress images to make your own accents – and much more!

Studio Calico is offering some amazing plates, that you won't be able to purchase anywhere else.   They have something for everyone, including holiday plates, greeting plates, alphabets, and labels.


In addition to a manual die cutting machine (I bought the Cuttlebug with a C Plate), you will need the following to get started with Letterpress (click on the link to purchase each item or to have Studio Calico notify you when the items are in stock. The expected stocking date is within the week, I believe).

1.  Letterpress bundle.
2. Ink bundle.

You can also buy the ink separately if you prefer.  I have my eye on black, grey, gold, silver, navy, orange, yellow, teal blue, teal green, hot pink and dark green.


3. Letterpress paper. It's important to use a very thick paper (preferably cotton, I believe) in order to get the deep impression which makes Letterpress so beautiful.  You can buy paper from Studio Calico in the following sizes.  3x4 cards, 4x6 cards, A2 cards, 12x12 sheets, and envelopes.   I'm picking up a few sets of the 4x6 and 3x4 cards because they're so perfect for Project Life.


4.  Cleaning cloths.  Not a necessity, but I've read about how messy the ink is and these wipes should make it a cinch to clean the oil-based ink.  Plus, they're only $1.99. Can't pass that up!

5.  And plates.  Oh, the plates. Studio Calico amazes me with their designs.  Here are some of my favorites.  Also note that some of the plates have coordinating dies that you can purchase so that you can cut the shape of the letterpressed paper.  I'm linking those as well, but they are not necessary if all you want to do is letterpress project life cards.  They would be needed if you prefer to make letterpress embellishments, such as with the labels and alphabet plates.

To the Moon and Back:

Die here.


Alphabet

Die here.

Magical Presents

Check it out


Triangles


Deer


Labels

Die here.


Today


Magic


Pin It!

Tuesday, August 6, 2013

Becky Higgins Project Life at Michael's Stores : Dear Lizzy Fifth and Frolic
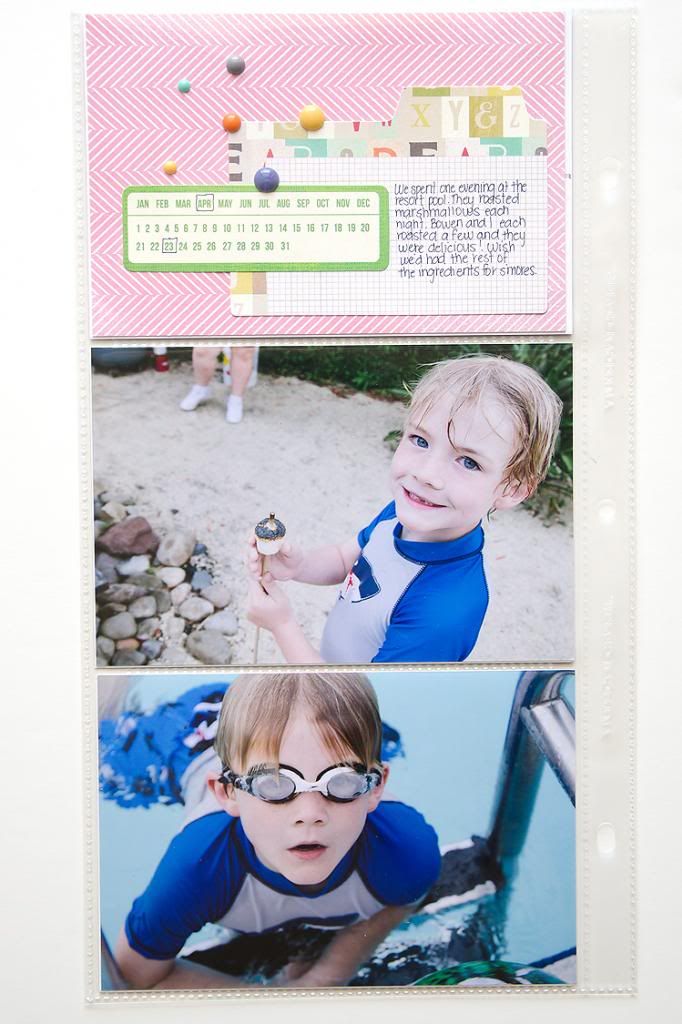
I had the opportunity to work with the Dear Lizzy Project Life edition which will be exclusive to Michael's stores.  It is GORGEOUS!  I was a tiny bit intimidated by the girly colors, but the cards are just so gorgeous, I knew I could make them work.

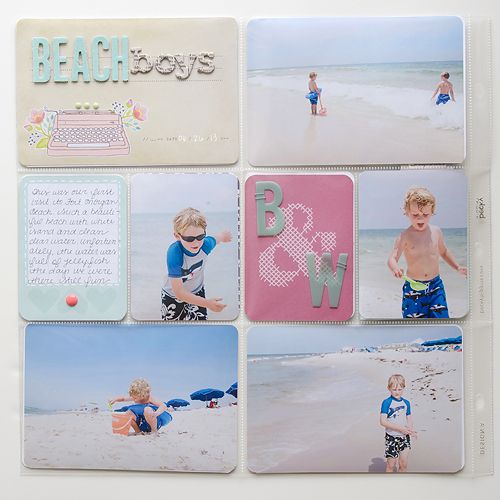
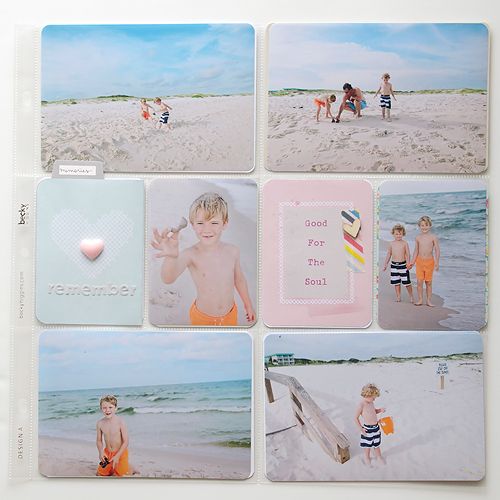
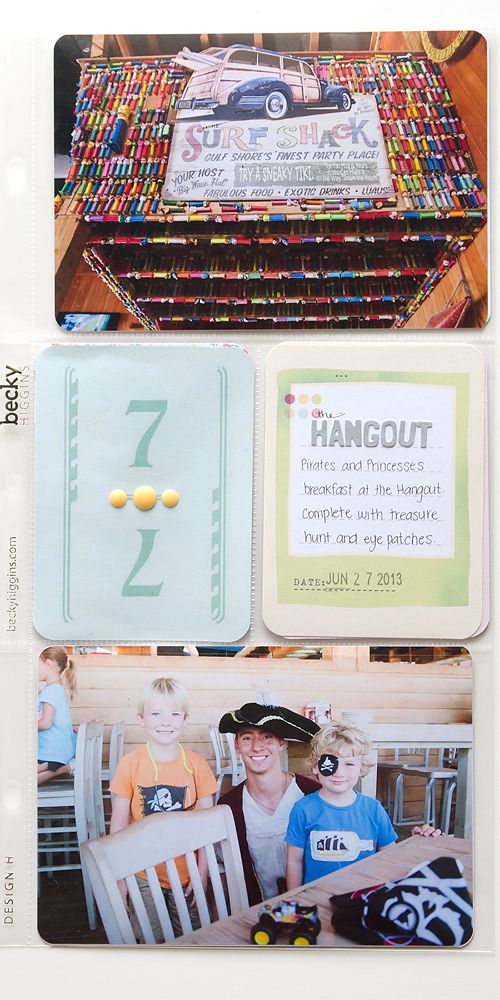
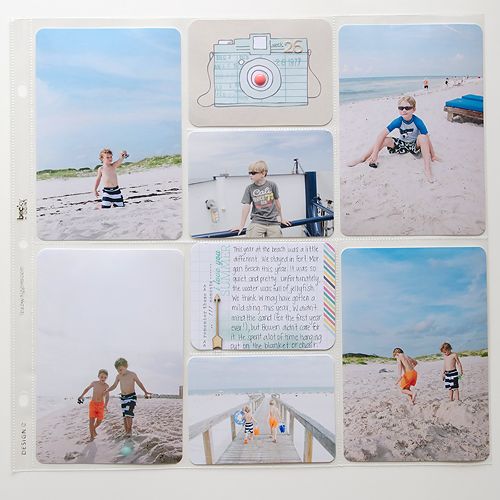
Here's what I came up with using pictures from our beach vacation in June.

This is my cover page for 2013 Volume 2:


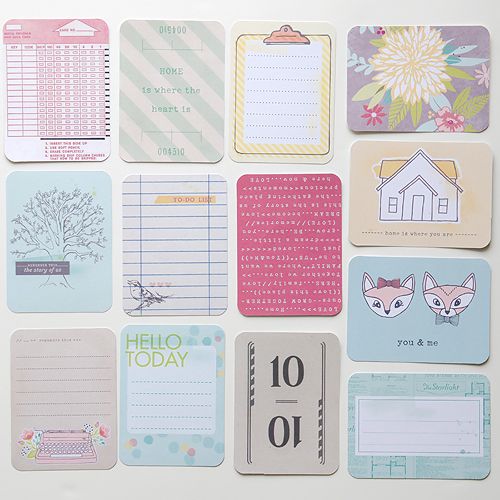
And here's a peek at a few of the cards available in this kit:  Love love love the foxes as well as the journaling cards.  I also love the camera card and the gorgeous florals in this kit.  It think that the mix of patterns in this kit is divine.


Pin It!